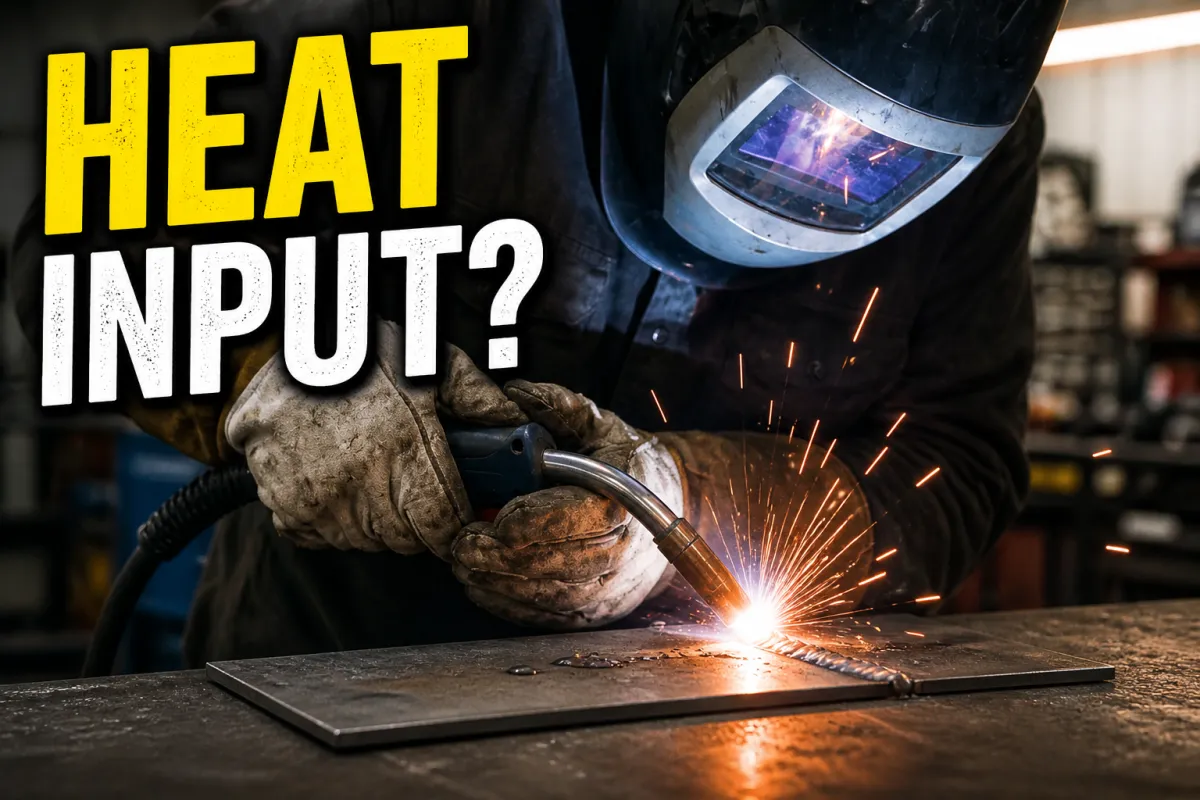
How to Control Heat Input for Stronger, Cleaner Welds
Your metal just warped into a pretzel, or maybe your weld cracked right after you finished. Nine times out of ten, you messed up the heat.
Heat input is the unsung hero (or villain) of every weld. Too much, and you're blowing holes or turning your workpiece into modern art. Too little, and your weld won't fuse, leaving you with cold lap and weak joints. Master this, and you'll unlock stronger, cleaner, and better-looking welds every time.
Amps, Volts, & Wire Speed: Your Power Dials
Think of your welder's settings as a faucet. The more you open it, the more heat pours out. On a TIG machine, that's your amperage. Crank it up, and you're pumping more juice into the arc, melting the metal faster and deeper.
For MIG welding, it's a combo deal: voltage and wire speed. Voltage controls the arc length and width of your puddle. Too high, and you'll get a wide, flat bead. Too low, and your wire will stub into the plate, making that awful "pop-pop" sound.
Wire speed dictates how much filler metal you're feeding and, crucially, how much current is flowing. More wire speed means more current, which means more heat. If you're blowing through thin sheet metal with your Hobart 140, try dropping your wire speed by 10-20 IPM and see how it changes the puddle.
Travel Speed: Don't Linger, Don't Rush

Your travel speed is how fast you move the torch or electrode across the joint. This might be the single biggest factor in controlling localized heat input. Move too slow, and you're just dumping heat into one spot. That's how you get excessive penetration, blow-through, or severe warping on thinner materials.
Go too fast, though, and you won't give the metal enough time to melt and fuse properly. You'll end up with a high, crowned bead, poor penetration, and cold lap. Find that sweet spot where the puddle is wet and flowing, but you're still making forward progress. I usually aim for a steady pace that lets the puddle just barely keep up with the arc.
Arc Length & Electrode Angle: Fine-Tuning the Flame
Your arc length is the distance between your electrode and the workpiece. A longer arc spreads the heat out over a wider area, often resulting in a wider, flatter bead and less penetration. It can also introduce more atmospheric contaminants into your puddle, especially with MIG and TIG.
A shorter arc, on the other hand, concentrates the heat into a smaller, more focused area. This gives you deeper penetration and a more defined bead. With stick welding, if your 7018 rod is sticking, your arc length is likely too short, or your amperage is too low.
Electrode angle also plays a huge role. Pushing the puddle (forehand technique) tends to give you a flatter, wider bead with less penetration, spreading the heat out. Dragging the puddle (backhand technique) concentrates the arc more, digging deeper and creating a narrower, more penetrating bead. Use a slight drag angle for most general purpose MIG welding.
Preheat & Post-Weld Cooling: Managing the Aftermath
Some metals, especially thick sections of steel or tricky alloys like cast iron, need a preheat. Heating the workpiece before you start welding reduces the thermal shock and slows down the cooling rate after the weld. This is critical for preventing cracking, especially in high-carbon steels.
For a thick plate of A36 structural steel, I might preheat it to 200-300°F with a rosebud torch before laying down a root pass. Always check your material specs for recommended preheat temperatures. And don't forget interpass temperature control for multi-pass welds — let it cool a bit between passes if you're piling on the heat.
Common Mistakes
Ignoring Material Thickness & Type: Trying to weld thin sheet metal with settings meant for 1/4" plate is a recipe for disaster. Different metals (steel vs. aluminum) also react differently to heat. Always start by knowing what you're welding.
Inconsistent Travel Speed: Jerky, uneven travel speed leads to inconsistent heat input. You'll get wide spots next to narrow spots, and strong sections next to cold lap. Practice smooth, steady movement.
Wrong Amperage/Voltage/Wire Speed: Guessing your settings is a rookie move. Use a door chart, an app, or a test piece. Dialing in the right power is foundational for heat control.
Not Allowing Interpass Cooling: For multi-pass welds, especially on thicker material, you can overheat the part if you just keep laying beads. Let it cool a bit between passes to maintain structural integrity and prevent distortion.
Overlooking Preheat/Post-Heat: For critical joints or brittle metals, skipping preheat can lead to immediate cracking. Post-weld heat treatment (PWHT) might be needed to relieve stresses, though beginners rarely touch this.
Controlling heat input is like learning to drive a stick shift. It takes practice, feeling the clutch, and listening to the engine. Pay attention to your puddle, adjust your speed, and don't be afraid to tweak those dials. You'll feel the difference in your welds.
Let's weld,
Quinn "Keep burning rods" Morrissette
Join 30,000+ students learning to weld at home with my online course:
>>> Check out 1 Day Welder here
>>> Shop the 1 Day Welder Amazon Store