How to Grind Perfect Bevels: The Secret to Stronger Welds
Ever wonder why your welds don't feel as strong as they look? It's probably because you're skipping a crucial step: proper beveling.
You can dial in your machine settings perfectly and still end up with a weak joint if your prep work is half-baked. Learning to grind a good bevel is the secret weapon for deep, strong penetration, especially on thicker materials.
Beveling Isn't Optional for Heavy Metal
Think about it: when you weld two flat pieces of metal together, you're essentially laying a bead on top of a flat seam. Without a gap or a shaped edge, getting full penetration into the root of that joint is almost impossible.
A bevel opens up the joint, creating a 'valley' for your weld metal to fill. This allows the arc to reach deeper, melt more base material, and create a much stronger fusion. It's the difference between a surface stick and a solid bond.
What's a V-Bevel and How Much Angle Do You Need?
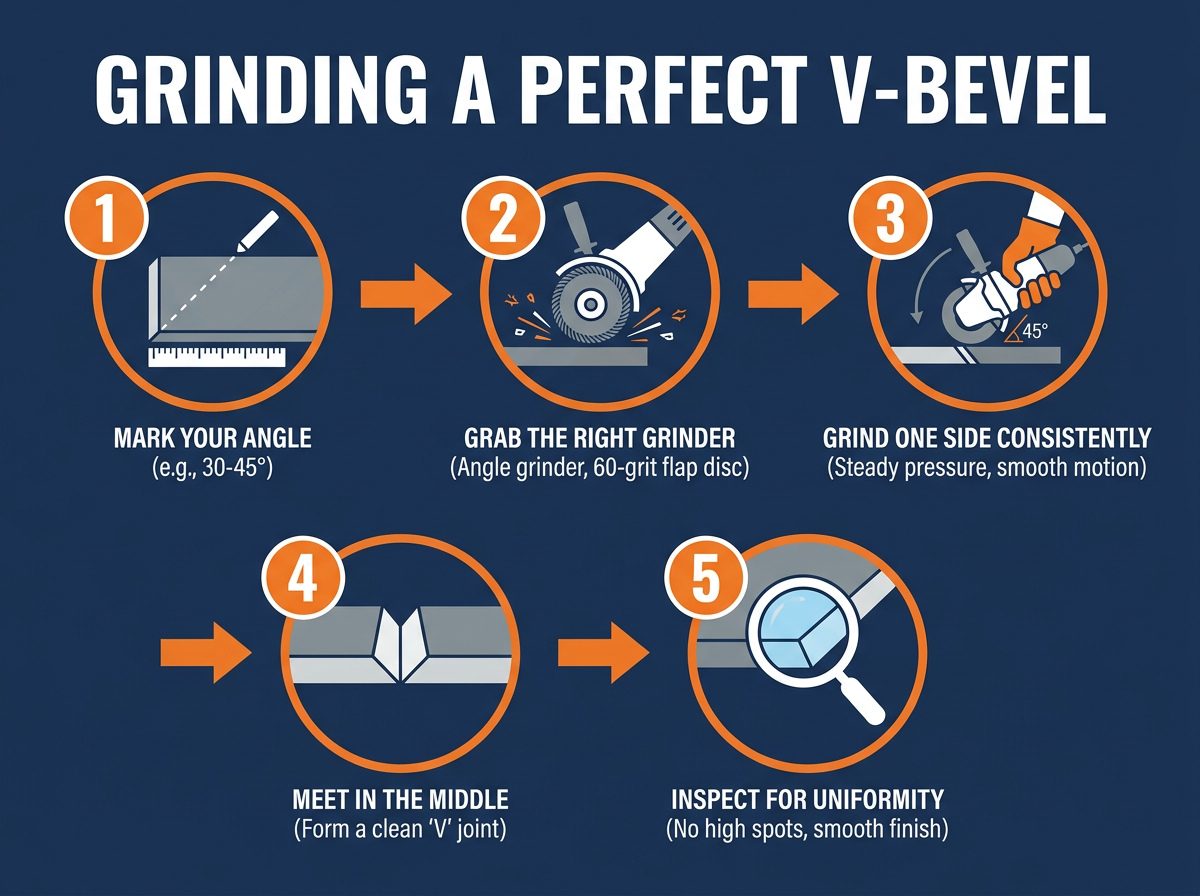
For most beginner projects and general fabrication, you'll be dealing with a simple V-bevel. This means you grind an angle off the edge of one or both pieces of metal, creating a 'V' shape when they're put together.
A common angle for a single V-groove is around 30 to 45 degrees on each piece, giving you a total included angle of 60 to 90 degrees when the pieces are butted up. This gives you plenty of room to work the arc into the root and lay down multiple passes for fill and cap.
The Right Tools for the Job: Grinders and Discs
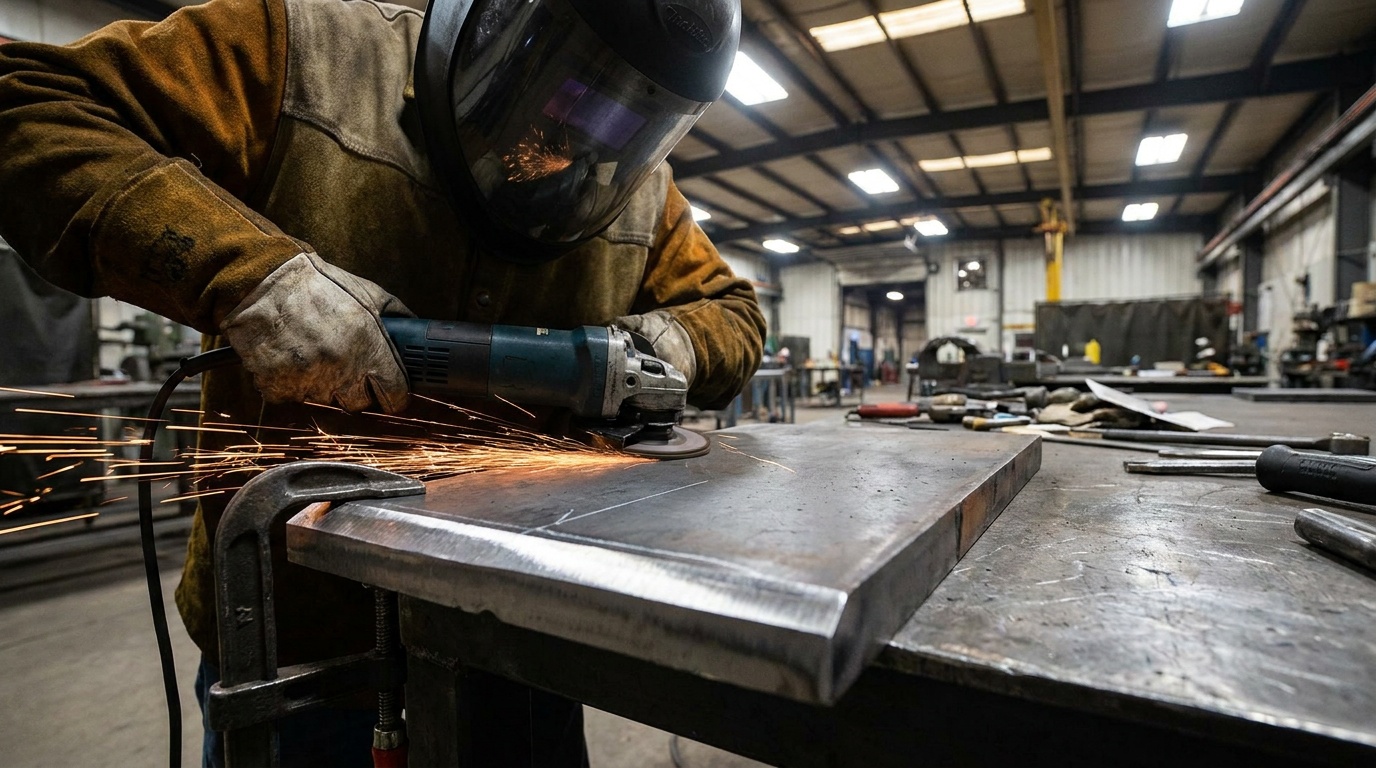
You'll need a good angle grinder for this. A 4.5-inch grinder from brands like Makita, Milwaukee, or DeWalt is perfect. Don't skimp on safety gear here – always wear a face shield, heavy gloves, and hearing protection.
For beveling, I usually reach for a 60-grit Zirconia flap disc. They're aggressive enough to remove material quickly but also leave a smoother finish than a standard grinding wheel. Keep a wire wheel handy too, for quick clean-up after grinding.
Grinding Your Perfect V-Bevel: Step-by-Step
First, mark your desired angle on the edge of your metal with soapstone or a scribe. For 1/4" mild steel, I'll often aim for a 30-degree bevel on each piece.
Hold your grinder firmly, keeping the disc at your marked angle. Use consistent, smooth passes along the edge. Let the grinder do the work; don't force it. Focus on removing material evenly, creating a consistent slope.
If you're doing a single V on two pieces, you'll bevel both edges. If it's a double V, you'll flip the metal and bevel the other side too. The goal is a clean, uniform V-groove when your pieces are fitted together, with a small root opening (the gap at the bottom) if required for full penetration.
Adjusting Bevels for Metal Thickness
Thinner materials, say 1/8" or less, often don't need a full V-bevel. A simple chamfer (a slight angle taken off the edge) is usually enough to promote penetration. For materials thicker than 1/4", you'll almost always need a significant bevel.
For really thick stuff, like 1/2" plate, you might even consider a J-groove or a double V-groove. This reduces the amount of filler metal needed and helps control distortion. Start with V-bevels and move up once you're comfortable.
Common Mistakes to Avoid
Skipping It Entirely: This is the biggest one. You'll get pretty welds that snap right off.
Inconsistent Angle: A wobbly bevel means an uneven root, which leads to weak spots. Use a steady hand and maybe even a jig if you're struggling.
Too Shallow or Too Deep: Too shallow, and you still won't get penetration. Too deep, and you're just wasting material and creating a massive gap to fill.
Leaving Grinding Debris: Always clean off any dust, slag, or contaminants left from grinding before you strike an arc. That stuff will cause porosity and inclusions.
Forgetting PPE: Grinding creates a lot of sparks and noise. Eye protection (face shield!), hearing protection, and good gloves are non-negotiable.
Mastering bevel grinding isn't just about making stronger welds; it's about building confidence in your prep work. When you know your joint is perfectly prepped, you can focus on laying down a killer bead. Take the time, make those cuts clean, and watch your welds transform.
Quinn "The Spark" Morrissette
Join 30,000+ students learning to weld at home with my online course:
>>> Check out 1 Day Welder here
>>> Shop the 1 Day Welder Amazon Store