How to Master Weld Restarts: Pick Up Where You Left Off Like a Pro
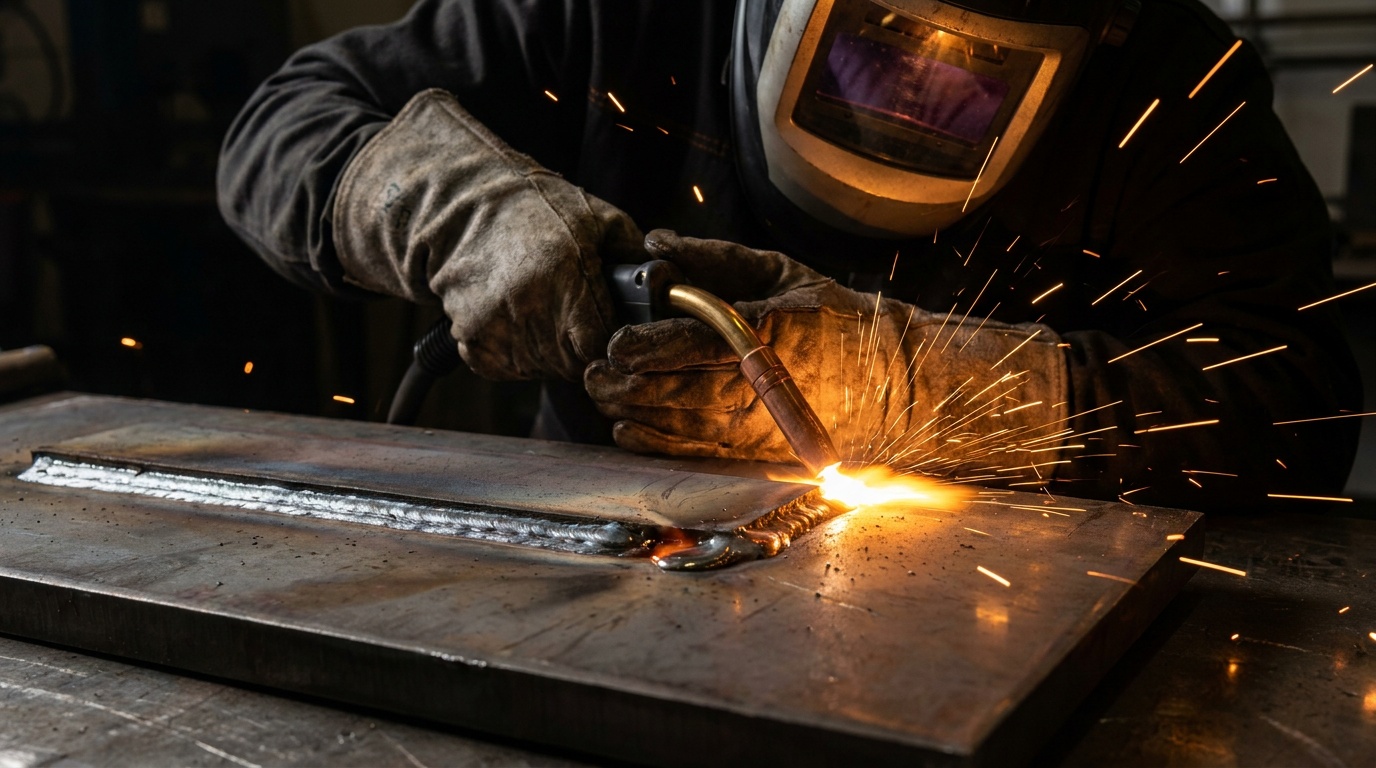
A bad restart isn't just an eyesore; it's a structural nightmare. Every time you lift that torch and restart, you create a potential weakness in your joint, a place where cracks can start or the weld can fail under stress. Learning to tie in seamlessly means stronger, more reliable joints and welds that look like they were laid down in one continuous pass by a seasoned pro.
Find Your Crater, Then Feather It
First things first: locate the end of your last bead. That's your crater, and it's always a low spot, often with a little divot. Don't just start welding on top of it and hope for the best. That's a surefire way to get a cold lap or a big glob of metal.
Grab your grinder – a 4.5-inch Makita or a DeWalt with a 60-grit flap disc works great for this. Gently feather the last 1/2 inch to 1 inch of your previous weld bead. You're not trying to remove the entire weld, just taper it down smoothly.
Think of it like building a ramp. This creates a smooth transition for your new weld to flow into, preventing that ugly pile-up of metal or a sudden drop-off. You want a gradual slope where your new puddle can easily merge with the old.
The Arc Start – Back, Pause, Forward
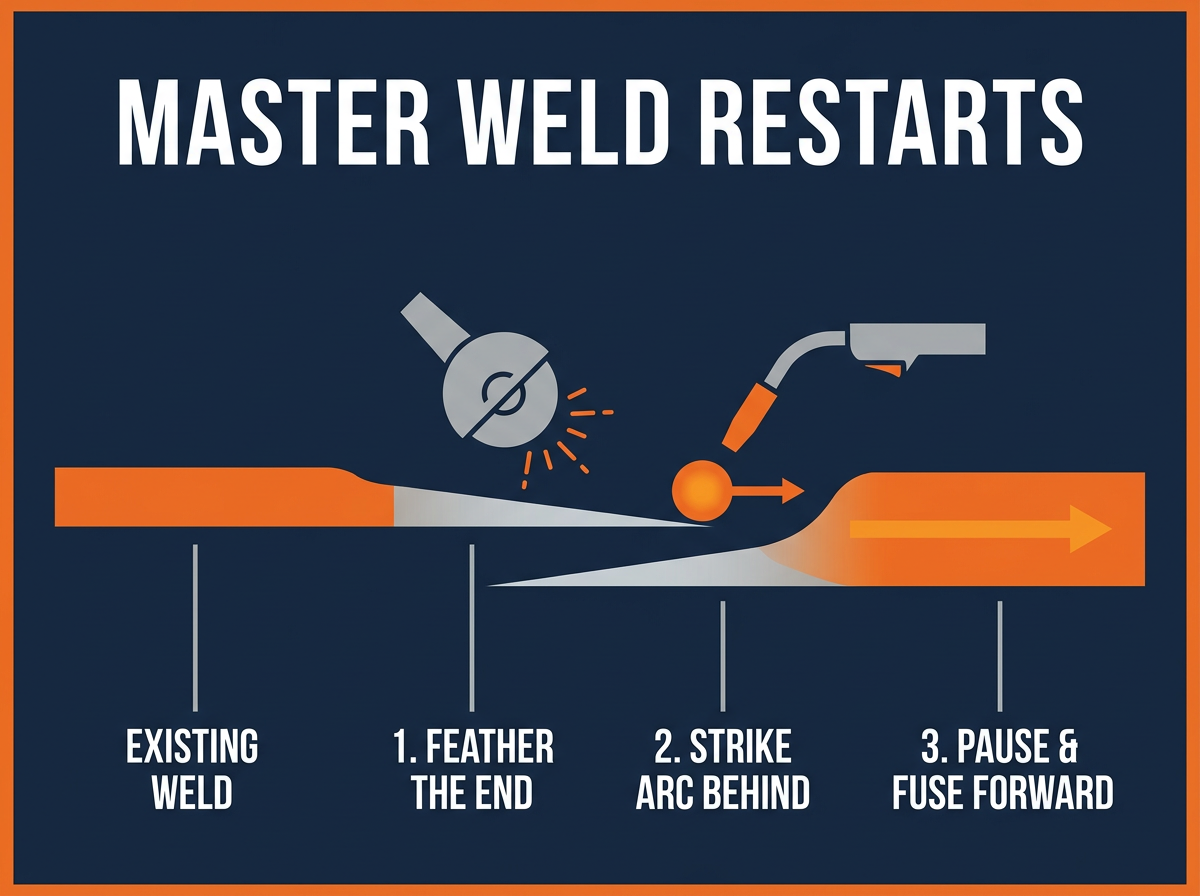
Now for the crucial arc start. Instead of striking your arc right at the feathered edge – which can lead to porosity or an incomplete tie-in – go back about 1/4 to 1/2 inch into your existing, finished weld. This preheats the metal in the immediate vicinity and helps establish a stable, consistent arc before you hit the critical restart zone.
Once your arc is stable and you've got a good, molten puddle forming, slowly move forward until you reach the feathered edge. Pause there for a split second, letting that new puddle fully fill the tapered area and fuse completely with the old weld. This is your moment to ensure full penetration and a strong tie-in.
After that brief pause, continue your weld as normal, maintaining your consistent travel speed, work angle, and stickout. It's all about smooth transitions and giving the metal time to melt and flow together.
Dialing in Your Heat for the Tie-In
Sometimes, even with perfect technique, you still get a cold lap or an overly large blob. This often comes down to heat management. If you're restarting on thicker material like 3/8-inch A36 plate, the base metal might be cooler, so you might need a tiny bump in amperage or wire speed for that initial tie-in to ensure proper fusion.
Conversely, if you've been running a long bead on thinner material, say 1/8-inch square tubing, the whole piece might be pretty hot. In that case, you might need to drop your settings slightly or pause a moment for the material to cool down a bit. Too much heat on an already hot base metal can lead to blow-through or excessive heat input that causes warping. Watch your puddle – it'll tell you what's going on.
Cleaning Between Passes (Multi-Pass Welds)
If your project requires multiple passes – a root, a fill, and a cap pass, for example – your restart strategy needs an absolutely critical extra step: interpass cleaning. Slag, silicon islands, and any other contaminants are your sworn enemies here. After each pass, chip off all slag with a chipping hammer, then hit it aggressively with a wire brush or a wire wheel on your grinder. Get that bead surface squeaky, shiny clean.
Do not, under any circumstances, skip this step. Contaminants from the previous pass will inevitably lead to porosity, slag inclusions, and a weak, ugly tie-in on your next bead. A perfectly clean surface ensures that your subsequent passes will fuse strongly and beautifully, stacking up into a rock-solid, professional-grade weld.
Common Mistakes
Listen up, these are the blunders that'll wreck your restarts every single time and leave you with welds that look like a beginner's first attempt:
- Starting Cold: Striking the arc directly at the crater without proper feathering or preheating the existing bead. This creates a cold, lumpy mess with terrible fusion and a high chance of cracking.
- No Feathering: Trying to weld onto the thick, abrupt end of a previous bead. You'll either get a huge glob of unfused metal or severe undercut as the new metal struggles to bridge the sudden elevation change.
- Rushing the Tie-In: Moving too fast through that crucial feathered zone. You need to give the molten puddle adequate time to fully fill the tapered area, melt the previous weld metal, and fuse properly. Pause, let it wet out, then move.
- Ignoring Interpass Cleanliness: Especially with flux core or stick welding, leaving slag or spatter on the previous pass before starting the next. Your new weld will be full of porosity, inclusions, and won't fuse correctly. Clean, clean, clean!
- Wrong Settings for Material Temp: Not adjusting your amperage or wire speed based on whether the base metal is cold or already hot from previous passes. Too cold, poor fusion; too hot, blow-through or excessive buildup.
Mastering weld restarts takes practice, just like everything else in welding. Don't get discouraged if your first few aren't perfect. Grab some scrap metal – maybe some 1/4-inch mild steel plate or some leftover angle iron – and run short beads, focusing purely on those tie-ins. The more you do it, the more natural and seamless it becomes.
Soon, your restarts will be virtually indistinguishable from the rest of your bead. Your welds will be stronger, look cleaner, and you'll be a far more confident welder for it. Keep sparking!
Quinn "The Spark Boss" Morrissette
Join 30,000+ students learning to weld at home with my online course:
>>> Check out 1 Day Welder here
>>> Shop the 1 Day Welder Amazon Store