How to Prevent Warping When Welding (And Fix It If You Do)
Ever finished a weld only to find your perfectly cut metal twisted like a pretzel? Heat is a beast, and it loves to warp your hard work.
Warpage doesn't just look sloppy. It messes up your fit-up, throws off dimensions, and turns a simple build into a headache. Mastering warpage control saves you time, money, and a lot of frustration.
Tack It Down Right
Warpage starts with heat, and heat makes metal expand and contract unevenly. Your first line of defense is solid tack welds. Don't just throw one on; put a few strong tacks around your joint before running a full bead.
Think of tacks like temporary braces. For a long seam on 1/8-inch mild steel, I'll put a tack every inch or two, maybe even closer on thinner stuff like 16-gauge. Make sure your tacks penetrate well. A weak tack can break, and then you've got a warped piece and a broken tack to deal with.
Control Your Heat Input
The less heat you pump into the metal, the less it will distort. This means short weld beads. Instead of running a continuous 12-inch bead, try 1-inch sections, then move to another part of the project to let that cool. Think of it like a chess game – you're always thinking a few moves ahead about where the heat is going.
This "skip welding" or "intermittent welding" technique is golden. Weld a section here, then jump to a completely different spot, maybe even on the opposite side of the joint, before coming back. It lets the heat dissipate and keeps overall temperatures lower. Don't just go for speed; go for control.
Use Clamps and Fixtures
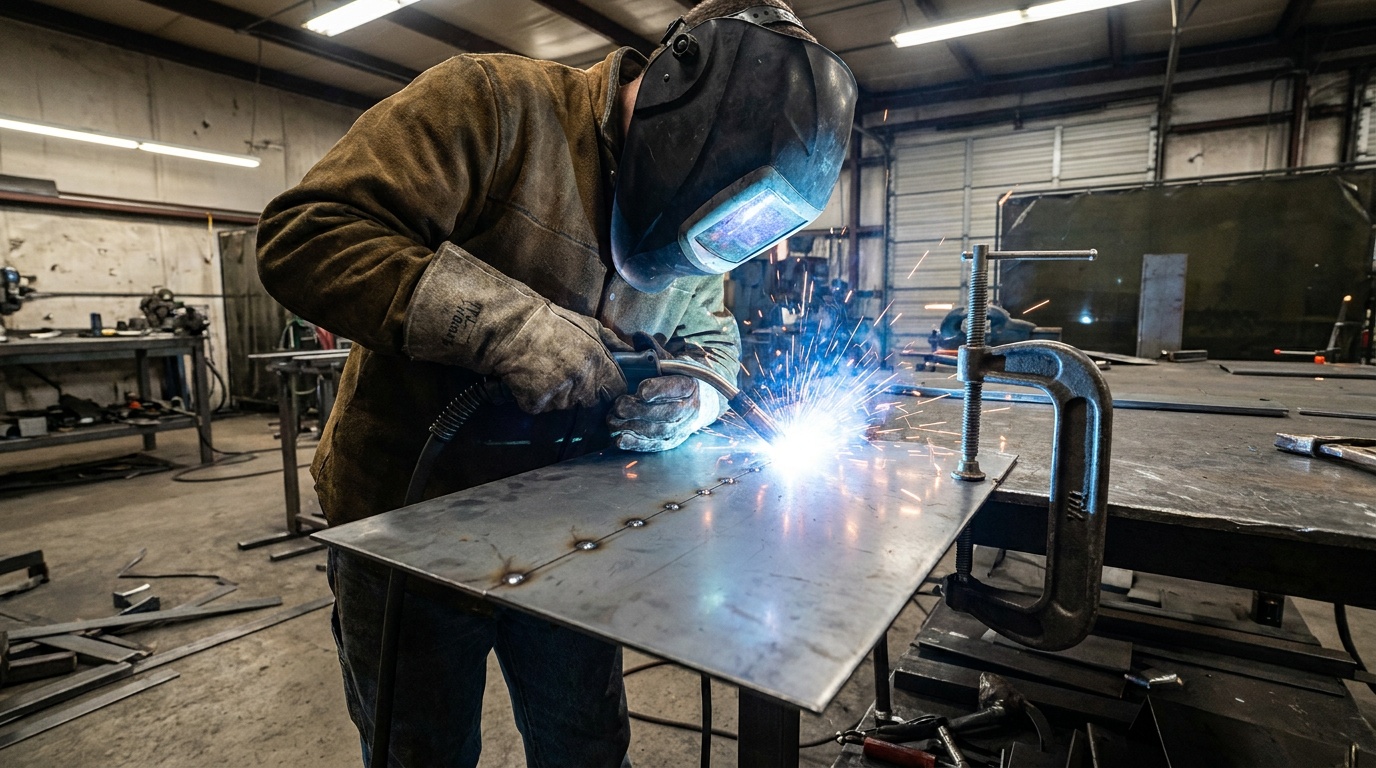
This is where your workshop arsenal comes in handy. C-clamps, toggle clamps, strong magnets – use them all. Clamp your workpieces down to a heavy welding table or a stout jig. The heavier and more rigid your setup, the better.
For example, when welding a frame, I'll clamp it to my heavy steel bench with at least four strong clamps, often more. A cheap Harbor Freight clamp won't cut it here; invest in some decent Wilton or Bessey clamps. Sometimes, I'll even add a piece of angle iron across a joint and clamp that down too, just to add more rigidity.
Strategic Weld Sequence
Just like skipping around, your welding sequence matters. Don't weld one side of a large plate solid and then do the other. That's a guaranteed banana peel. Work from the center outwards, or balance your welds by alternating sides.
If you've got a square frame, weld one corner, then the diagonally opposite corner, then the remaining two. If you're welding a T-joint, alternate between the two sides of the 'T' to keep heat even. This balances the shrinkage forces. Also, consider the weld direction. Welding away from an open end can help reduce pull.
Dealing with Warpage After the Fact
Sometimes, despite your best efforts, things still warp a little. Don't panic. You can often fix it. For slight bends, a little strategic heat shrinking can work. Heat a small spot, maybe a dime-sized area, on the convex side (the side that bowed out) to a dull red with an oxy-acetylene torch. Let it cool slowly or quench it with water. As it cools, that spot contracts, pulling the metal back into shape.
For more severe bends, mechanical force is your friend. A big hammer, a hydraulic press, or even just some well-placed clamps and wedges can persuade metal back into submission. Just be careful not to overdo it or create new problems like dents or stress points. Sometimes, you might need to combine both methods.
Common Mistakes
Running Long, Continuous Beads: Especially on thin sheet metal. This dumps too much heat in one spot, causing major expansion and contraction. Break those long runs into smaller sections.
Not Enough Clamps or Jigs: Relying on gravity alone is a recipe for disaster. Metal moves when hot, and if it's not held rigid, it will go wherever the heat pulls it.
Poor Tack Welding: Weak tacks or too few of them won't hold the assembly rigid enough. They need to be strong and well-placed.
Ignoring Material Thickness and Type: Thin metals like 18-gauge steel or aluminum warp easily. Thicker plates like 1/2-inch mild steel are more forgiving but still susceptible. Adjust your amperage and travel speed accordingly.
No Cooling Time Between Passes: Rushing from one weld to the next without allowing parts to cool down means cumulative heat buildup and more warpage. Walk away, grab a coffee, or work on another part of the project.
Welding Everything on One Side: If you're welding a square tube, doing all four seams on one side before flipping it is asking for trouble. Balance the heat.
Warpage is a pain, but it's a skill you can master. Pay attention to heat, use your clamps, and plan your attack. Your welds will not only be strong but also straight and true. Keep practicing, and those perfect, flat projects will be rolling off your bench.
Quinn "The Torch" Morrissette
Join 30,000+ students learning to weld at home with my online course:
>>> Check out 1 Day Welder here
P.S. You can also browse my favorite budget tools here >>> 1 Day Welder Amazon Store