
How to Set Up Your MIG Welder for the First Time
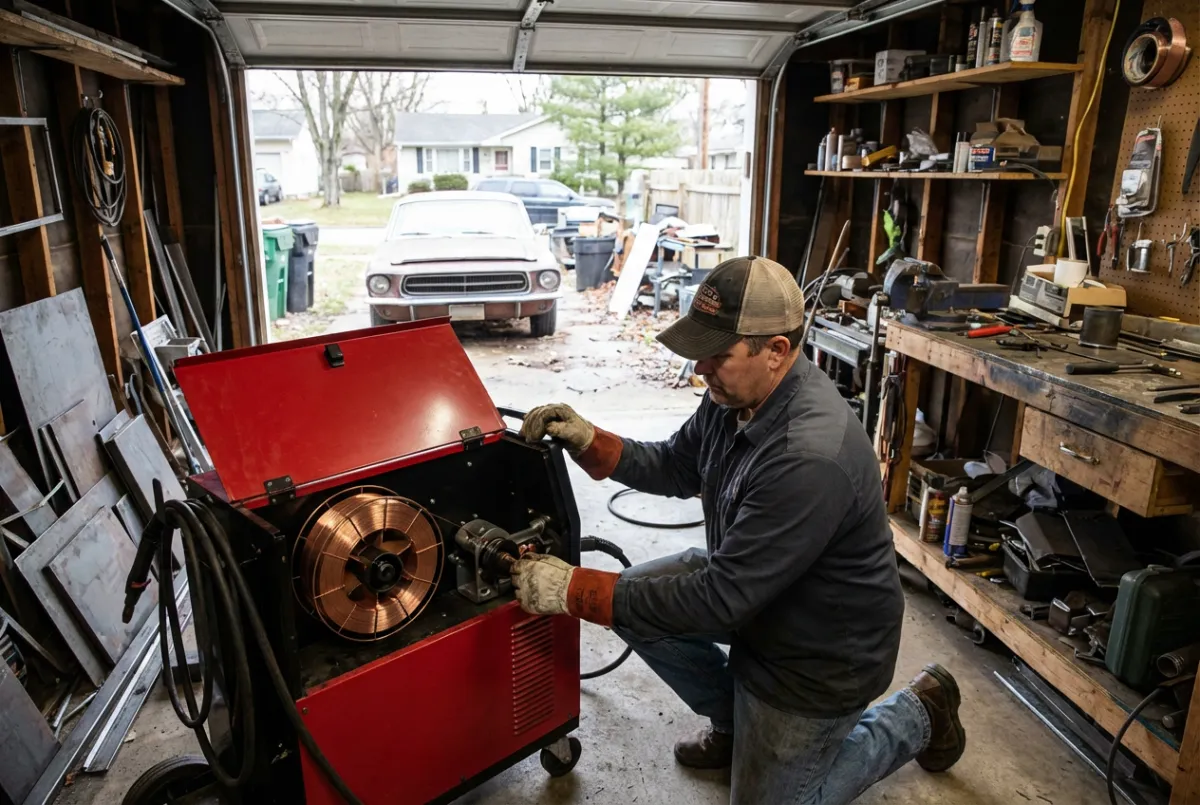
Dan unboxed his first MIG welder, plugged it in, and laid down a bead that looked like cold oatmeal stuck to the side of a bowl. He texted me that night thinking the machine was broken. The machine wasn’t broken. He just skipped setup.
Most beginners do. They want to strike an arc and start joining metal — and that’s the right energy, but the order matters. A MIG welder you haven’t set up properly will fight you on every weld. Set it up right, and the thing practically welds itself.
Here’s how to do it the first time without wrecking your first bead.
Why Setup Is 80% of the Battle
A MIG welder is just a wire feeder, a gas valve, and a power source bolted into one box. If any of those three are off, your weld is off. Wire too fast and it stubs. Gas too low and you get porosity. Voltage too low and the bead piles up cold. Get all three dialed and the bead lays down flat with a clean stack-of-dimes look.
I’ve watched students spend an hour cussing at their welder when the real problem was a kinked liner or 12 CFH of gas instead of 20. Setup is boring. It’s also where 80% of your weld quality comes from.
Step 1: Polarity
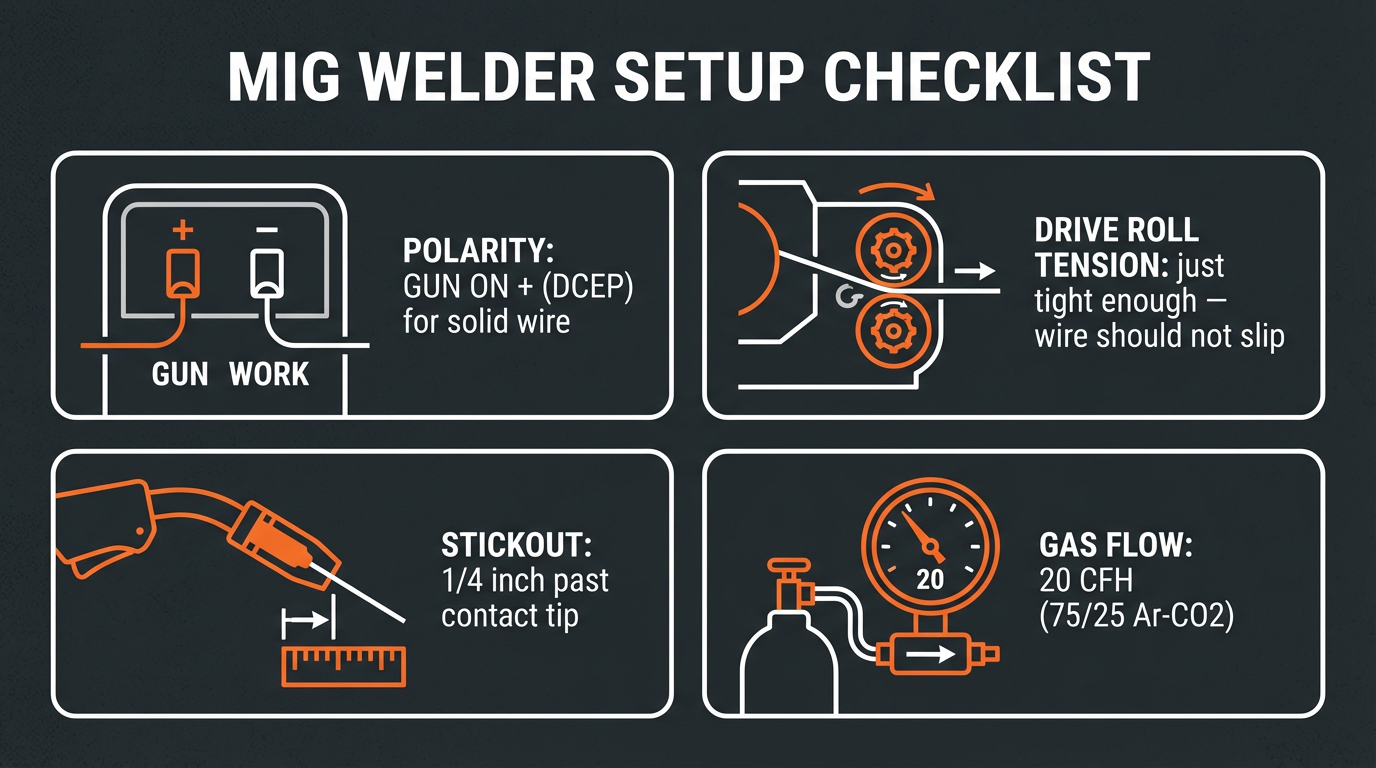
Open the side panel. You’ll see two studs inside, usually labeled with a polarity diagram. For solid wire with shielding gas (regular MIG), you want the gun lead on positive (DCEP) and the work clamp on negative.
If you’re running flux-core wire, flip it. Flux-core needs the gun on negative (DCEN). This is the single most common new-welder mistake — running flux-core wire on MIG polarity and wondering why everything looks like a volcano.
Step 2: Wire and Tension
Match the wire to the metal you’re welding. For mild steel, .030" ER70S-6 is the beginner sweet spot — runs clean from 1/8" stock down to about 18-gauge if you slow your wire feed.
Feed the wire through the drive rolls and out the gun. The tension knob on the drive rolls should be just tight enough that the wire doesn’t slip when you pinch the gun tip against a piece of wood. Any tighter and you’ll deform the wire and clog the liner.
Snip the wire so about 1/4" sticks out past the contact tip. That’s your stickout. Memorize that number.
Step 3: Gas Flow
For solid wire on mild steel, run a 75/25 argon-CO2 mix. Open the bottle valve all the way (these are designed to be fully open or fully closed — no in-between). Set the regulator flow to 20 CFH for indoor work, 25 CFH if you’re in a drafty shop or garage door is cracked.
If you’re running flux-core, no gas. The flux inside the wire makes its own shielding when it burns.
Step 4: Voltage and Wire Speed
This is the part that scares people. It shouldn’t. Most modern hobby MIG welders have a settings chart on the inside of the side door — Hobart, Lincoln, Miller, Eastwood, all of them. Start there.
For 1/8" mild steel with .030" wire, a typical starting point is around 18 volts and 250 IPM wire feed. For 1/16" sheet, drop to about 16 volts and 180 IPM.
Then adjust by sound. A good MIG arc sounds like bacon in a hot pan — a steady sizzle, not a popcorn pop and not a jackhammer. Too cold? Bump voltage. Too hot, burning through? Drop voltage. Wire piling up at the puddle? Slow the wire feed.
Step 5: Test Bead Before You Commit
Before you weld anything you care about, lay down three or four test beads on scrap of the same thickness. Burn through? Drop heat. Bead sitting on top like a rope of caulk? Bump heat. Once your scrap bead looks like a flat, evenly-rippled line, your settings are real.
Don’t change three things at once. Change one variable, run a bead, look at it. That’s how you learn the machine.
Common Mistakes Beginners Make
- Running flux-core on positive polarity. Looks terrible. Sounds worse. Always check the diagram on the inside panel.
- Cranking gas to 40 CFH because more must be better. It’s not. Too much gas creates turbulence and pulls air into the puddle. 20 CFH is the answer 90% of the time.
- Skipping the work clamp prep. Clamping to rusty, painted, or oily metal is like trying to charge your phone with a frayed cable. Hit the clamp area with a flap disc until it’s bright steel.
- Welding rusty or painted metal. No machine setup will overcome a dirty surface. Grind it bright before you strike an arc.
- Ignoring the chart inside the door. That chart was written by engineers who tested hundreds of beads. Start there. Tune from there.
You Can Do This
Setup feels tedious the first time. By your fifth project, you’ll do it in three minutes without thinking. The dial-in is muscle memory — you’re just teaching your hands what good settings feel like.
Don’t aim for a perfect first bead. Aim for a clean setup, a steady hand, and the patience to run a test bead before you weld anything that matters. The bead will come.
Join 30,000+ students learning to weld at home with my online course:
>>> Check out 1 Day Welder here
>>> Shop the 1 Day Welder Amazon Store
Talk soon,
Quinn “bacon in a hot pan” Morrissette
P.S. Save the chart inside the side panel. Take a phone photo of it. You will reference it more than you think.